
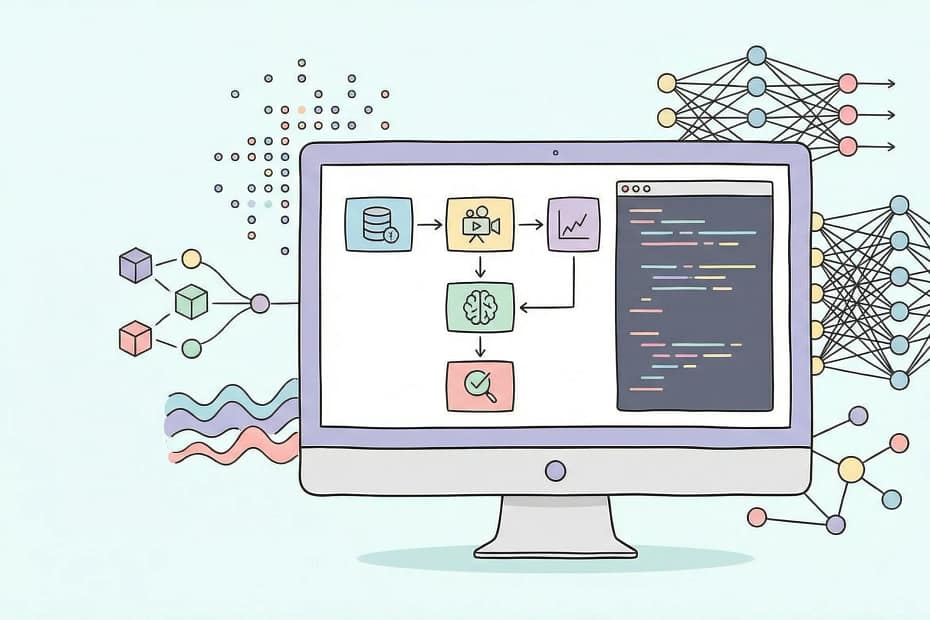
Create Your First AI Project Step-by-Step Instructions
If you have ever wanted to make your own AI project but didn’t know where to start, you are not alone. Many people are curious about artificial intelligence and how to try building something for themselves. Beginning a new project might feel like a challenge, but you only need a few basic steps to make your first simple AI come to life.
Maybe you have seen AI tools, chatbots, or image generators online and felt inspired. You might wonder if you need to be a programmer or a math whiz. The truth is, you can get an AI project up and running with basic computer skills and a clear plan. All you need is the right guide and a willingness to learn.
I want to walk you through starting your first AI project from scratch. My goal is to break it into easy chunks so you can build something that actually works, even if you are a complete beginner.
Step 1: Decide What You Want Your AI Project to Do
Before starting any project, it helps to decide exactly what you want your AI to accomplish. This gives you direction and keeps you focused throughout the process.
Questions to Help You Choose:
- Do I want to build something that recognizes images, understands text, or makes predictions?
- What problem do I want to solve or what task do I want to automate?
- How complex do I want my project to be for my first try?
- How much time am I willing to spend on this project?
Common Beginner AI Project Ideas:
- Build a chatbot that answers basic questions.
- Create a spam email detector.
- Make an image classifier that tells if a picture is of a cat or a dog.
- Train a model to predict housing prices from a simple dataset.
Picking a small, clear goal makes the rest of the steps much easier. I remember choosing to make a chatbot for my first project because it sounded fun. It helped keep me motivated when things got tricky.
Step 2: Choose the Tools and Technology
The tools you use will shape your experience and learning. For beginners, several programming languages and platforms make starting with AI easier than ever.
Popular Beginner Friendly AI Tools:
- Python: Widely used for AI projects. Simple syntax and huge support from the community.
- Jupyter Notebooks: Great for experimenting and writing code step by step. Easy to install with Anaconda.
- Google Colab: Lets you write and run Python code in your browser using Google’s free resources.
- TinyML or Scratch AI Tools: For younger learners or those who like block based or no code experiences.
I started with Python in Google Colab because it gave me a free and simple environment. I didn’t have to set up anything on my computer, which saved a lot of hassle. If you need some practice, there are tons of tutorials online for getting comfortable with Python basics.
Step 3: Gather and Prepare Your Data
Every AI project needs data. The kind of data you use should match your goal. For example, if you are building an image classifier, you need labeled photos. For a spam detector, you need a set of emails labeled as spam or not spam. Even a chatbot needs some example questions and answers to work properly.
Finding Beginner AI Datasets:
- Kaggle Datasets – Free, easy to access datasets for almost any project.
- UCI Machine Learning Repository – Another source for public datasets.
- Scikit-learn Sample Datasets – Comes with the Python scikit learn library.
Tips for Preparing Data:
- Check for missing or messy data and clean it as needed.
- For small projects, start with smaller datasets to keep things manageable.
- Label your samples clearly, especially for projects like image or text classification.
- Keep a backup copy of your data so you can always return if things go wrong while you experiment.
This step matters because AI learns from your data. Simple, clean data makes it easier to spot improvements and catch issues early. Many beginner projects focus more on getting the data ready than on fancy algorithms. That way, when you do start training your model, you get more reliable results.
Step 4: Build Your AI Model
Building the model is the exciting part! Most beginner AI projects use prebuilt libraries to get started. This means you don’t need to write everything from scratch. In Python, libraries like scikit learn, TensorFlow, or PyTorch let you build working models with a few lines of code. These libraries handle the tough math for you and let you focus on how your AI acts and what you want to improve.
Simple Steps to Build a Model:
- Pick a model that fits your project (for example, decision tree, neural network, or logistic regression).
- Load your data into your code.
- Tell the model to learn from the data (this is called “training the model”).
- Test the model with some data it hasn’t seen before.
- Review the model’s performance and see how it stacks up with your expectations.
Example (Python and scikit learn):
If you want to make a spam detector, you can use the CountVectorizer and a simple classifier in scikit learn. I was surprised at how short and readable the code was, which let me focus on understanding what was happening. There are plenty of step by step tutorials and code samples when you search online for specific models or tasks.
Step 5: Test and Improve Your AI
No AI project works perfectly the first time. Testing your project helps you see where things go well and where you could improve. Pay attention to how your project performs on real examples, not just your training data. This might mean letting friends try out your chatbot or giving your image classifier new pictures to check accuracy.
Ways to Test AI Projects:
- Split your data into a training set and a test set. Use the test set to see how well the AI has learned.
- Try lots of different inputs to see if the AI makes good predictions across examples. If you notice patterns in where it fails, that’s a clue to what’s missing from your data.
- If the results are not great, you can adjust how you prepare your data, tune the model’s settings, or even try a different type of model.
- Ask for feedback from users or friends to get new ideas for tweaks or improvements.
Don’t get discouraged by early mistakes. Learning from them makes you a better builder, and often the process of fine tuning and testing is where you gain the most insight.
Step 6: Share and Learn from Others
Once your project is running, share your results! You can show your project to friends, post your code on GitHub, or even join online communities to get feedback. This helps you get new ideas and learn what’s possible for your next project. There are lots of people at all skill levels experimenting with AI projects, so don’t be shy about joining in.
Good Places to Share:
- Kaggle Notebooks
- GitHub (public repository)
- Reddit or AI Discord channels
- Online forums for AI beginners and tech hobbyists
I posted my first chatbot example on a beginner forum and got suggestions that made it way better. Other people’s feedback can help you spot things you might have missed, and you might stumble upon project ideas or resources that make your next build smoother.
Common Beginner AI Questions
What if I don’t know how to code?
Several AI platforms don’t require much coding or use visual tools to help you get started. Tools like Scratch or Teachable Machine can help you build projects with simple clicks and drags. These are great ways to jump into AI without needing to learn all the details of a programming language first.
Do I need a powerful computer to run AI projects?
Most beginner projects work well on any recent laptop or desktop. If you need more power, cloud services like Google Colab let you use remote computers for free. That means you can work on more interesting models even if your own hardware is basic.
What if my model doesn’t work as expected?
- Make sure your data is clean and formatted the same way in both training and testing.
- Try using a different basic model or tweaking the model settings.
- Ask questions in online forums. The AI community is friendly to beginners and often happy to help debug with you.
- Look for example projects that solve similar problems and see how they do things.
Your Action Steps when Starting Your Project
Starting with AI is less intimidating when you break it into practical steps, and you can always learn as you go. Pick a simple idea, gather your data, use friendly tools like Python or Google Colab, and focus on small improvements along the way. Once you finish one project, you will feel much more comfortable trying something a bit bigger next time. The more you experiment, the more confidence you’ll build.
Here’s How I Suggest You Start:
- Pick a single goal for your AI project. Something straightforward and interesting to you so you stay motivated.
- Make an account on Google Colab or install Anaconda with Jupyter Notebook on your computer.
- Browse for datasets on Kaggle or use ones that come with scikit learn or other beginner libraries.
- Use small steps and celebrate your first working result, even if it’s just a simple prediction!
- Document what you do along the way; notes will help if you return to fix bugs or want to share your approach later on.
Building your first AI project is really rewarding, and it gives you a whole new way to solve problems. If you get stuck or want ideas, forums and open source communities are full of people ready to help you figure things out. Remember, every expert was once a beginner just like you—so jump in and see what you can create!


